Iloca I
Iloca I
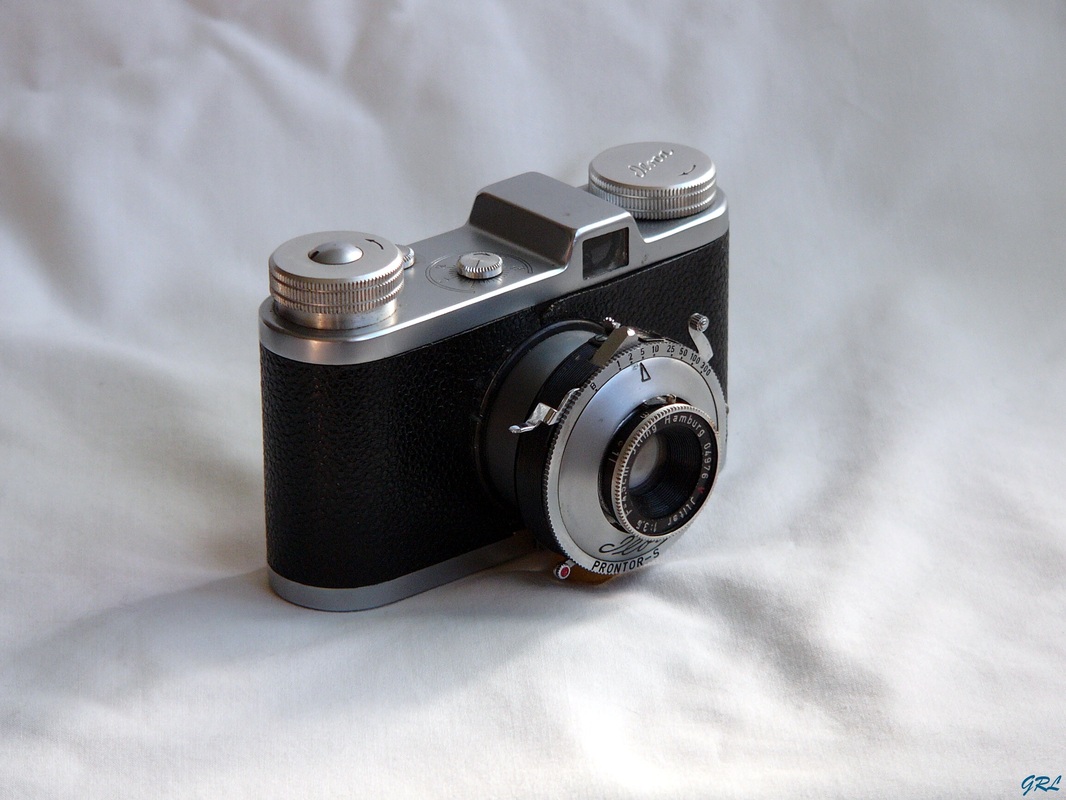
The Iloca I was was introduced in the early 1950's, and was one of the first production cameras made by the company. It's a fairly simple and straightforward camera to use, with the exception of the rather awkward film loading and film transport mechanism. The overall quality of components, such as the lens and shutter assemblies, is quite reasonable for this class of camera. The Iloca I is virtually identical to the Iloca II, except that the Iloca I does not have a built-in rangefinder. The iloca I was superseded by the Iloca Ia.
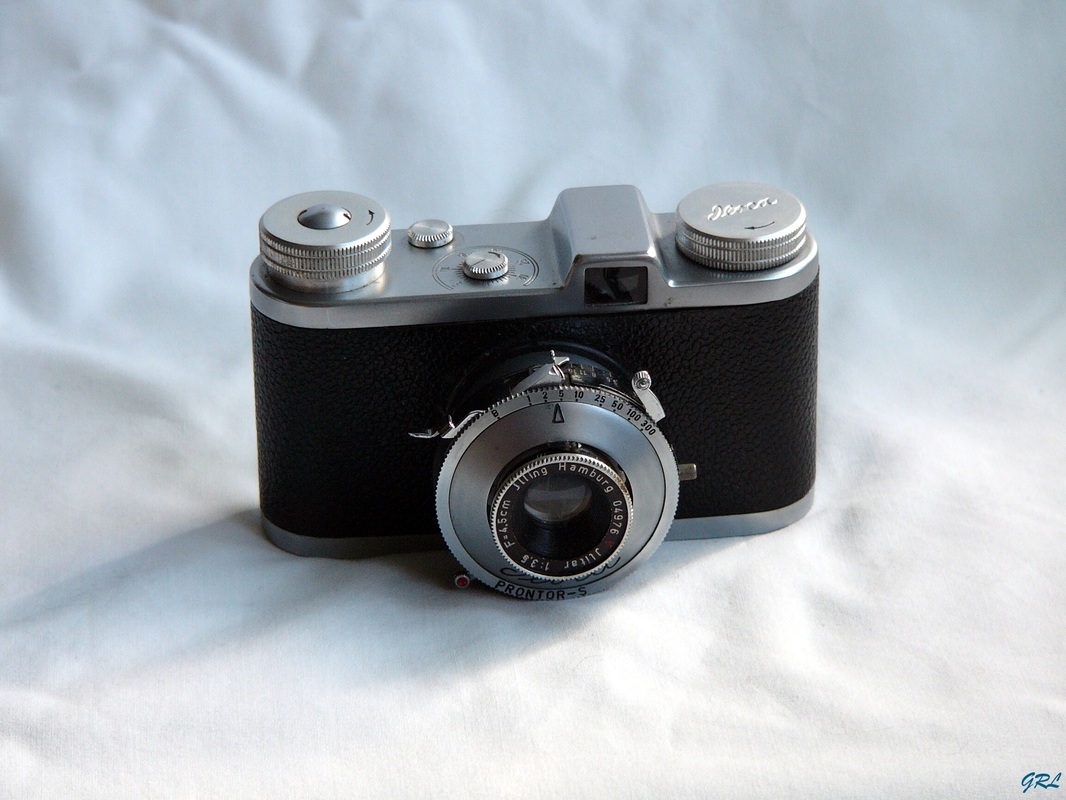
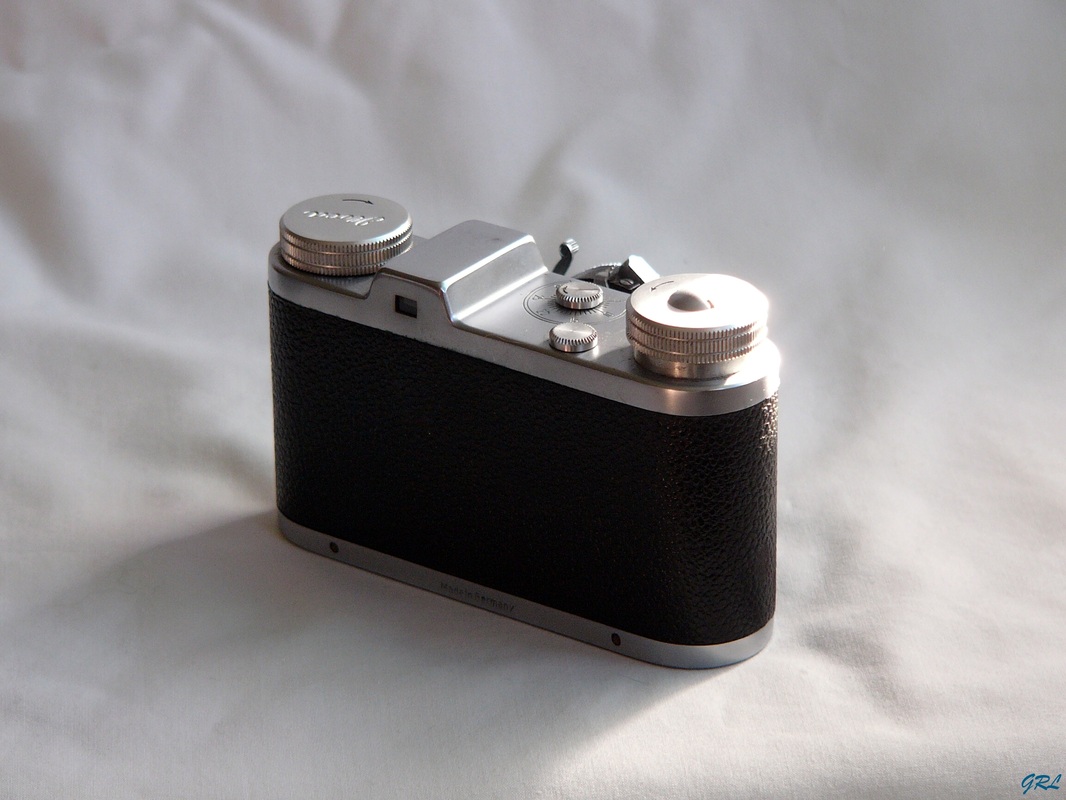
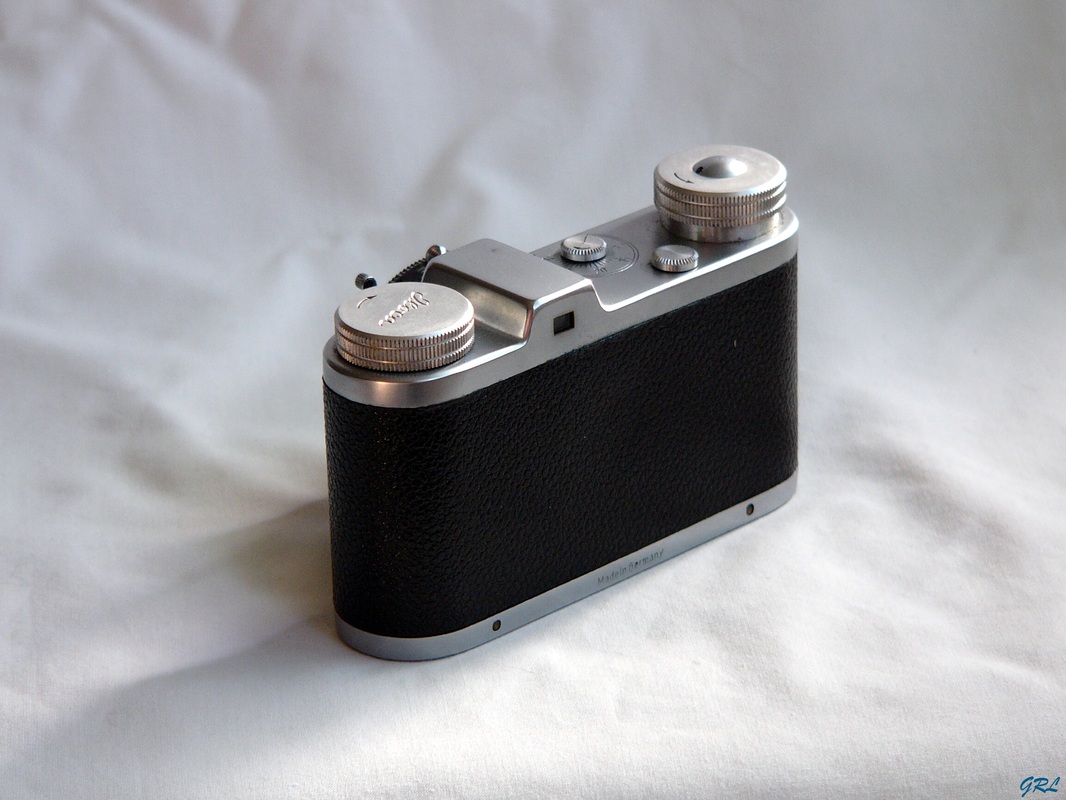
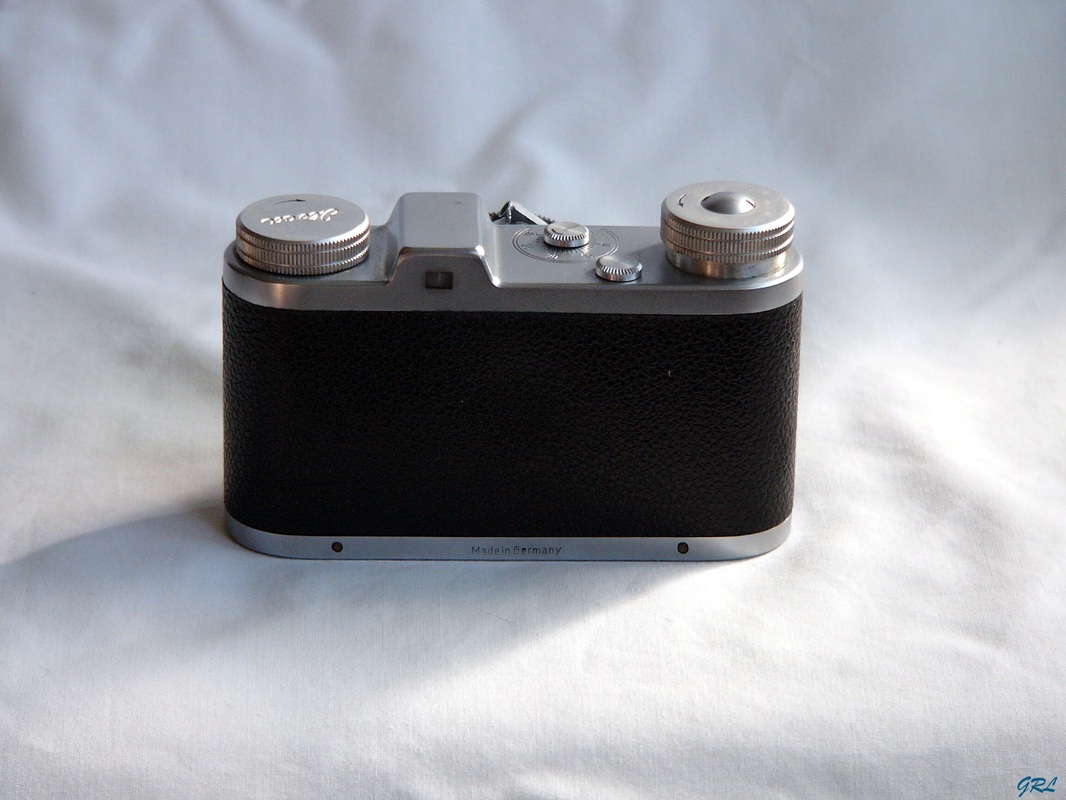
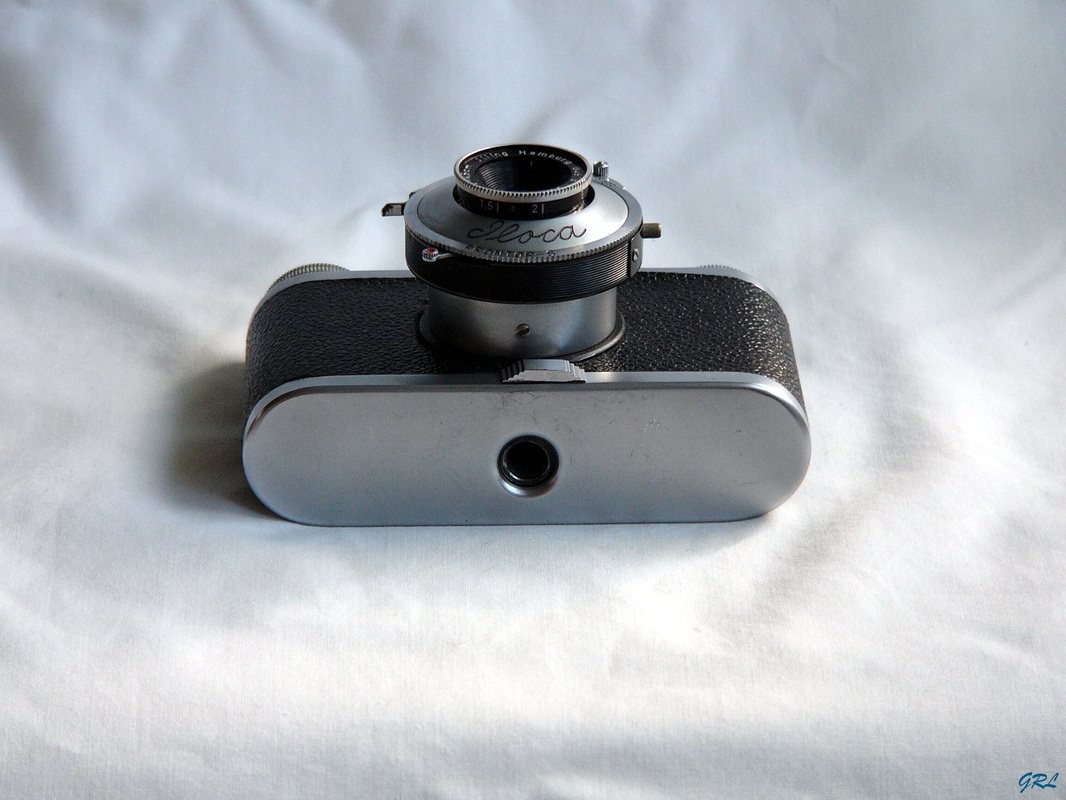
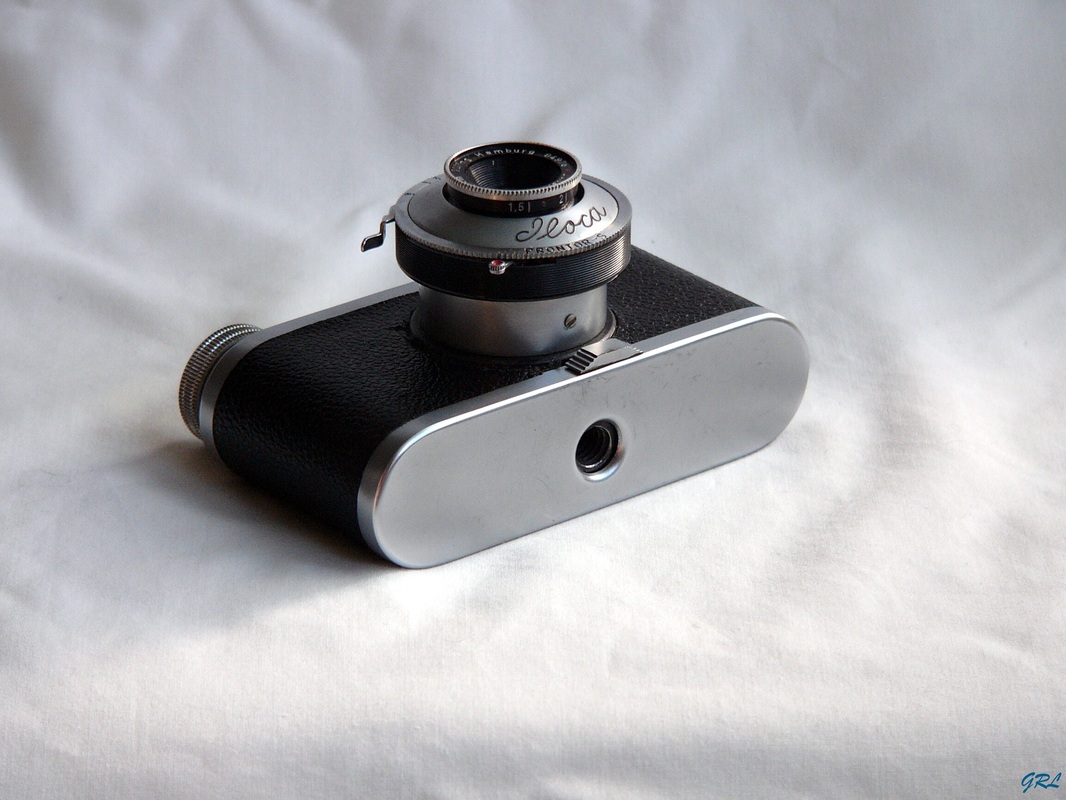
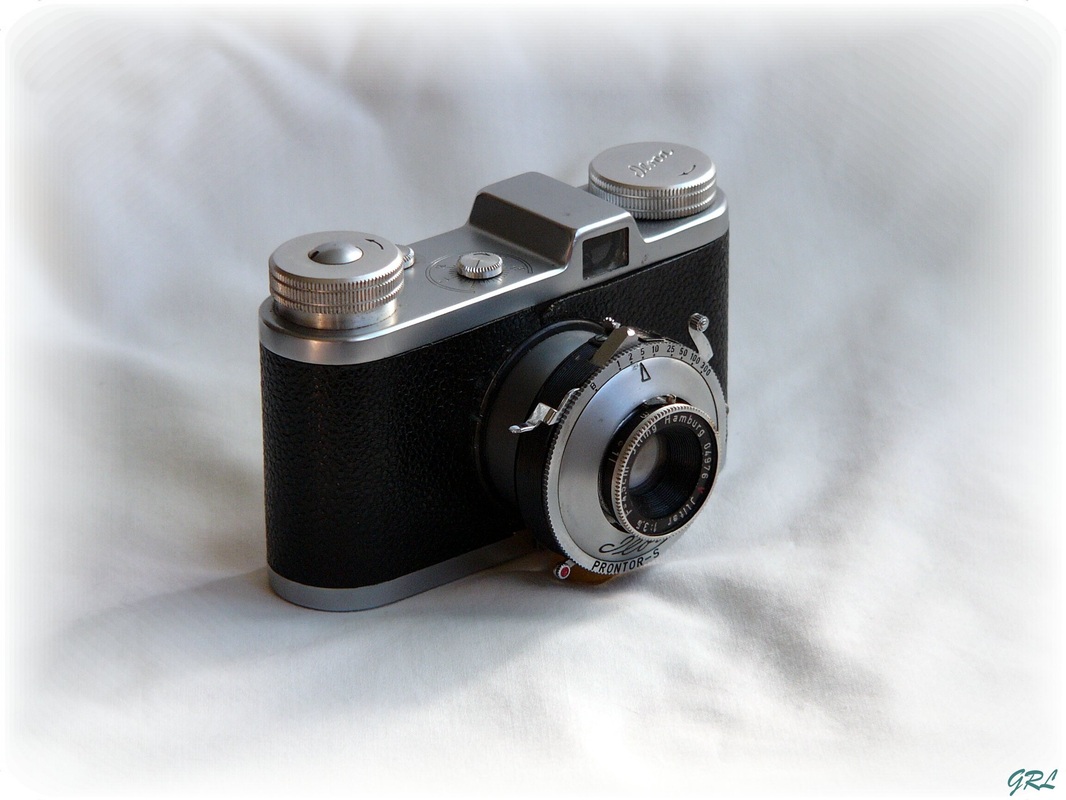
This model's specification is fairly orthodox, offering several shutter configurations including Prontor-II, Prontor–S or Vario shutters, and a Jlitar 45mm lens. The film transport and rewind knobs are located on the top plate along with the film frame counter and rewind lock. All other controls, including the shutter release, are located on the shutter housing itself.
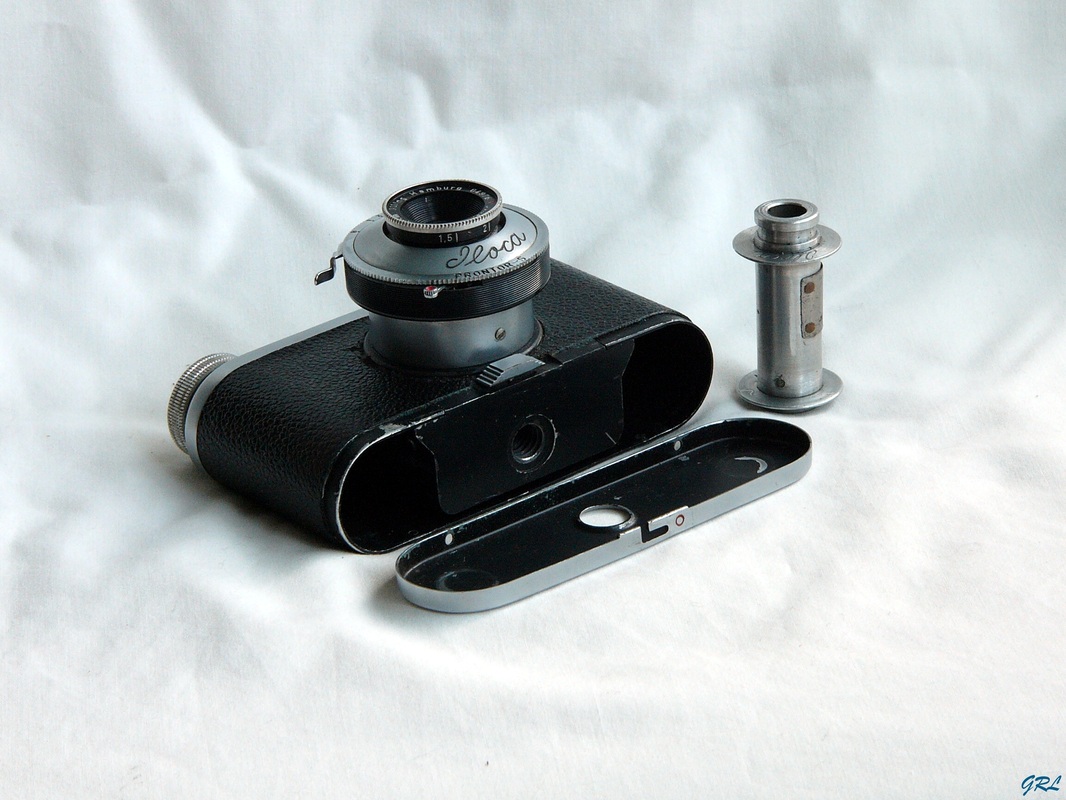
The film loading procedure is a bit tricky with this camera, but no great problem once you get used to it. The important thing is to ensure that the film is correctly located on the 'out-of-sight' sprockets. If loaded incorrectly, then the film may jam or tear, causing problematic film advance at the very least - not good news, and probably a factor in the relatively short production span for these early models.
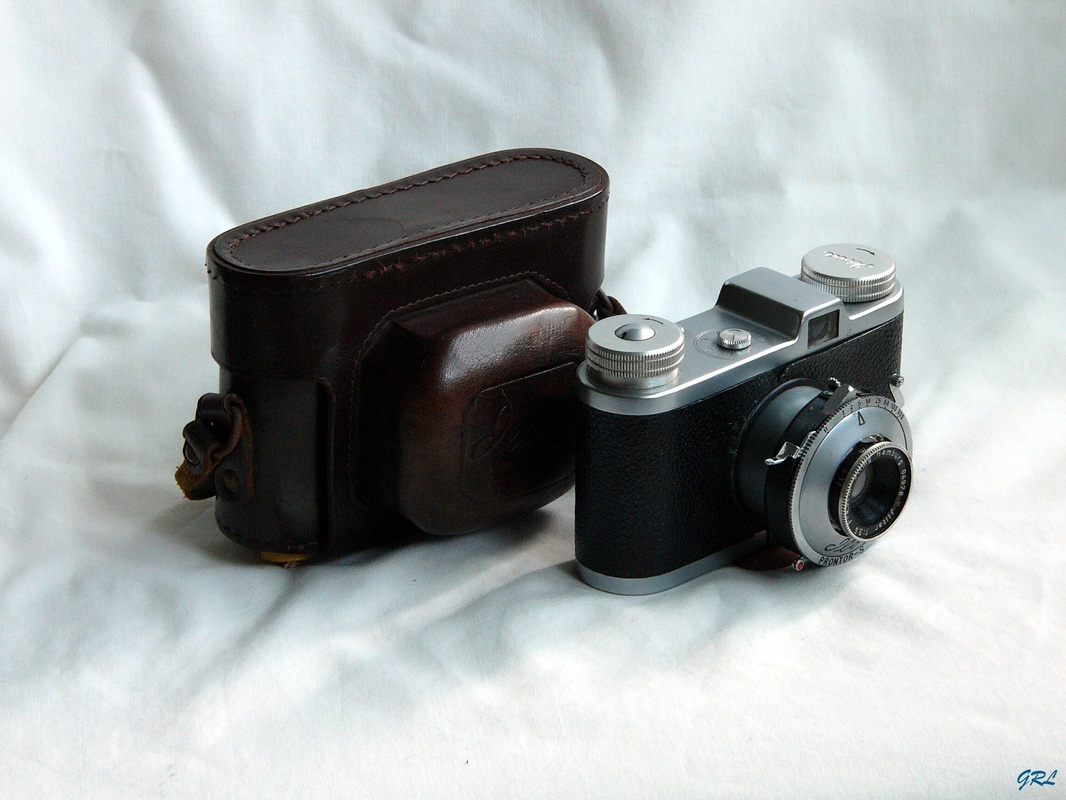
However, with reasonable care, there should be no problem loading and shooting a full roll of film. In other respects, the camera's compact, slender one-piece body housing is quite comfortable to hold and use.
The early series cameras had a relatively short production lifespan before the introduction of new models with removable camera backs and completely redesigned film loading and film transport mechanisms.
Some tips for loading film into this model camera: Slide the catch to the 'o' position, then remove the base plate. Using a pair of scissors, extend the cutout area on the leading part of the film to about 10 cm. Remove the film take-up spool and feed the leading part of the film into the slot in the spool. Next, insert the film canister and take-up spool, together with the film, into their respective housings in the camera, ensuring that all components are correctly positioned in order to avoid problems when advancing the film. The film, film canister and take-up spool should be inserted completely into the camera leaving no portion protruding, and there should not be any excess pressure on the base plate. Replace the base plate and close the catch.
This model's specification is fairly orthodox, offering several shutter configurations including Prontor-II, Prontor–S or Vario shutters, and a Jlitar 45mm lens. The film transport and rewind knobs are located on the top plate along with the film frame counter and rewind lock. All other controls, including the shutter release, are located on the shutter housing itself.
The film loading procedure is a bit tricky with this camera, but no great problem once you get used to it. The important thing is to ensure that the film is correctly located on the 'out-of-sight' sprockets. If loaded incorrectly, then the film may jam or tear, causing problematic film advance at the very least - not good news, and probably a factor in the relatively short production span for these early models.
However, with reasonable care, there should be no problem loading and shooting a full roll of film. In other respects, the camera's compact, slender one-piece body housing is quite comfortable to hold and use.
The early series cameras had a relatively short production lifespan before the introduction of new models with removable camera backs and completely redesigned film loading and film transport mechanisms.
Some tips for loading film into this model camera: Slide the catch to the 'o' position, then remove the base plate. Using a pair of scissors, extend the cutout area on the leading part of the film to about 10 cm. Remove the film take-up spool and feed the leading part of the film into the slot in the spool. Next, insert the film canister and take-up spool, together with the film, into their respective housings in the camera, ensuring that all components are correctly positioned in order to avoid problems when advancing the film. The film, film canister and take-up spool should be inserted completely into the camera leaving no portion protruding, and there should not be any excess pressure on the base plate. Replace the base plate and close the catch.
In Summary
Iloca's entry model into the camera market, this camera offers a relatively simple and compact design. The film loading and film transport mechanism can be a bit awkward, but provided the film is loaded correctly, the camera is capable of producing quite acceptable results under favourable conditions.
Specifications: Iloca I
- Camera Type: 35 mm Compact Camera
- Format: 35mm film format producing image sizes 24mm x 36mm
- Shutter: Prontor–II with speeds 'B', 1, 1/2, 1/5, 1/10, 1/25, 1/50, 1/100, 1/250 sec with delayed action lever and flash socket (very early versions); or
Prontor–S with speeds 'B', 1, 1/2, 1/5, 1/10, 1/25, 1/50, 1/100, 1/300 sec with delayed action lever and flash socket; or
Vario with speeds 'B', 1/25, 1/50, 1/100 (early versions); or
Vario with speeds 'B', 1/25, 1/75, 1/200
- Lenses: Jlitar 1:3.5 / 45 mm, focus range 3' 9'' (1.2 metre) to ∞
- Aperture: F3.5 to F22 or F16 (very early versions)
- Delayed Action: Approx 10 seconds (Prontor shutter versions)
- Flash Capability: Flash Contact Socket
- Frame Counter: 0 to 36
- Rangefinder: No
- Lightmeter: No
- Other Features: Tripod Mount, Leather Camera Case, Cable Release Socket
- User Manual: Iloca I User Instructions
Camera Gallery: Iloca I